Last updated: 22 October 2026
A government job form asks for “all certificates in a single PDF.” You have a marksheet, an ID proof and a caste certificate as photos in your gallery. Most people download a random app full of ads and hope it works.
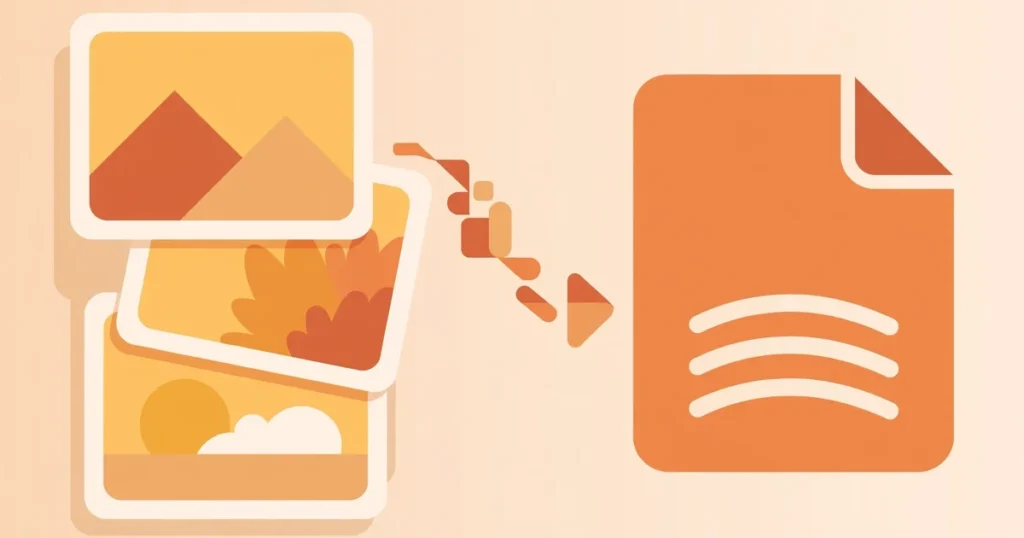
An image to PDF converter joins those photos into one PDF in under a minute, right in your browser. Your images aren’t uploaded to a server. This guide covers the settings that work for most forms, a workflow you can follow, and what to do when a portal rejects your file.
How to use the image to PDF converter
- Open the image to PDF converter and drag your images into the upload box, or click it to pick files from your phone or computer. JPG, PNG and WebP all work.
- Check the Selected Images list. Use the up and down buttons to put the pages in order, and the rotate button to fix sideways photos.
- Choose the Page Size (A4, US Letter or Fit to Image), the Orientation, the Margins and the Compression / Quality.
- Type a PDF File Name and click Create and Download PDF.
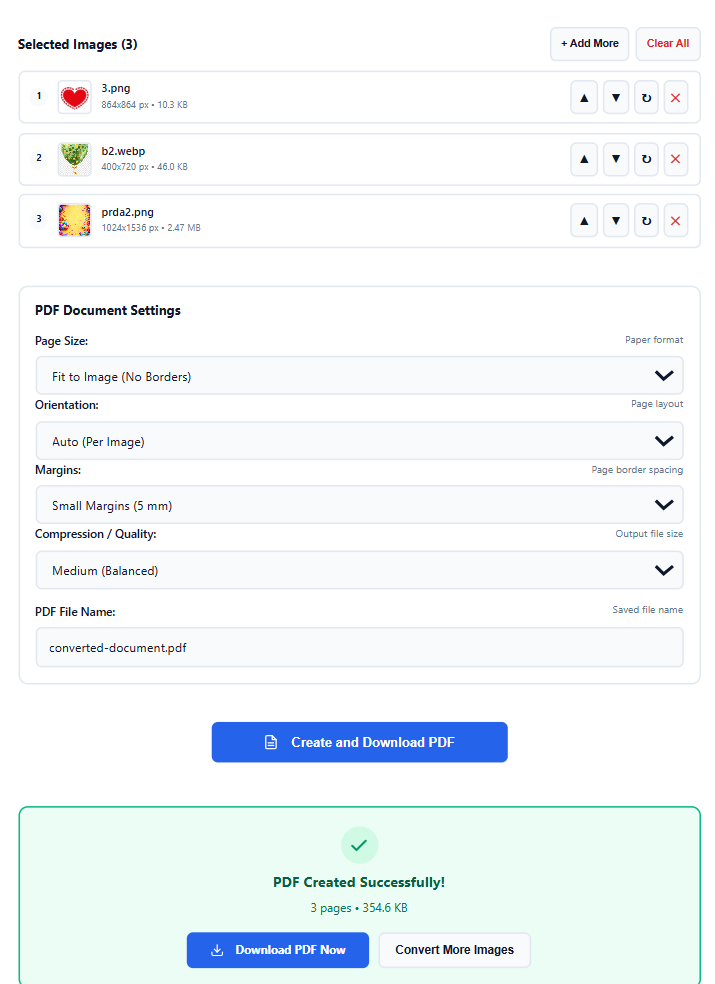
- The result shows the number of pages and the file size. Click Download PDF Now.
Settings that work for most forms
If a notification doesn’t give other instructions, start here:
- Page Size: A4
- Orientation: Auto (Per Image), so a wide scan stays wide
- Margins: Small Margins (5 mm), so stamps and text stay clear of the paper edge
- Compression / Quality: Medium (Balanced)
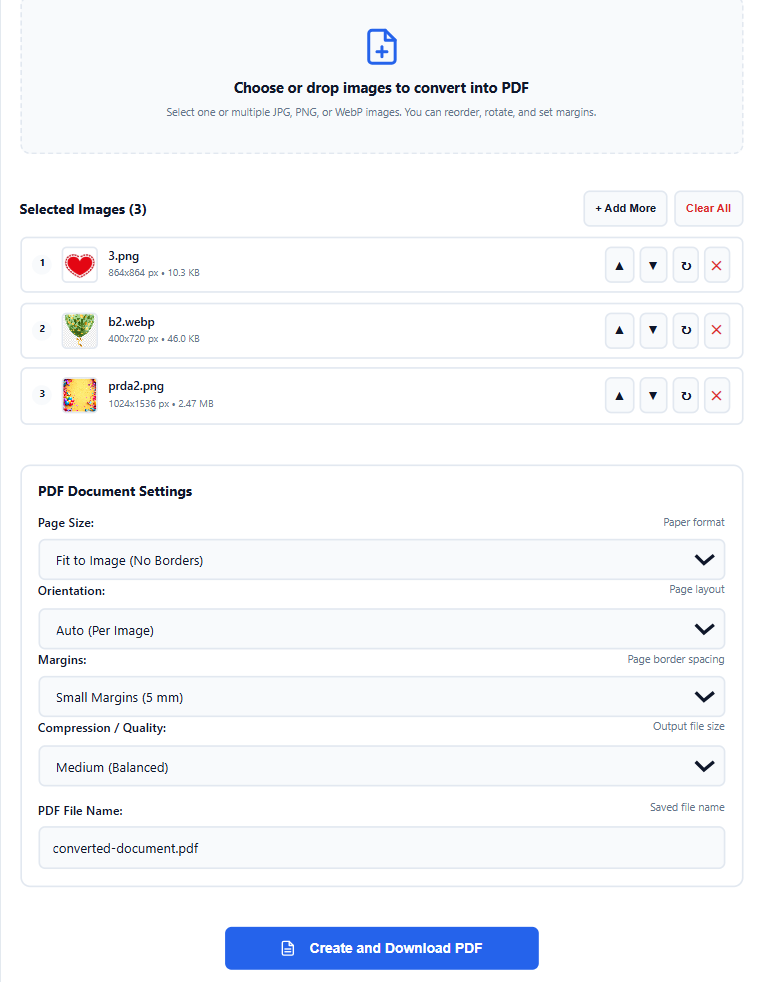
Go up to High Quality if small print looks soft. Go down to Low File Size only if the portal’s size limit forces you to, and then check that the text is still readable.
Fit to Image gives each page the size of its image, with no white borders. It’s fine for a photo collection, but a form usually expects uniform A4 pages.
A workflow for a government form
Follow these steps in order, and you’ll catch most mistakes before you upload.
- Read the notification first. Note the file format, the size limit and any rule about the file name.
- List the documents in the order the form asks for them. Photograph or scan them in that order.
- Keep photos and signatures separate. Many forms ask for these as their own images with exact dimensions and file sizes. The photo and signature resizer handles those.
- Rotate before you create the PDF. A sideways page is easier to fix in the list than in the finished file.
- Create the PDF and count the pages. The result shows the page count, so compare it with the number of documents you added.
- Open the finished PDF and scroll through it. Look for blur, cut edges and a missing page.
- Check the file size against the portal’s limit, then upload.
If the portal rejects your PDF
| Problem | What to try |
|---|---|
| The file is too large | Choose Medium or Low File Size. If it’s still too big, make the images smaller first with the compress image to KB tool, then create the PDF again. |
| The text is blurry | Retake the photo in better light and choose High Quality. A blurry photo stays blurry in the PDF. |
| The pages are in the wrong order | Reorder them with the up and down buttons, then create the PDF again. |
| A page is sideways | Rotate that image in the list, then create the PDF again. |
| The portal complains about the format or size | Use A4, and check the portal’s instructions for the exact limit and file name rules. |
| The photo or signature is rejected | Those need exact dimensions and a file size in KB. Use the photo and signature resizer on them separately. |
Why browser-based matters for your documents
Many converter websites upload your files to their servers, convert them there and give you a download link. Your ID proof then sits on someone else’s computer for a time you can’t know.
This tool merges the images inside your browser. I tested it by switching off my internet after the page had loaded, and the PDF was still created. The page needs an internet connection to open, but the conversion doesn’t need one.
The page itself loads from the internet, and ads or other third-party services on it can still collect some information. You can read the details in the Privacy Policy.
When you need an image to PDF converter
- Job applications: certificates bundled into one file.
- College admissions: marksheets, a transfer certificate and an ID proof together.
- Tax filing: scanned receipts and investment proofs in one document for your CA.
- Rent agreements and KYC: ID and address proof as one file.
- Photo albums: a trip’s photos as one PDF are easier to send on WhatsApp than 30 separate images.
Two habits that prevent rejections
Avoid shadows across the page. A shadow is a common reason a scan is hard to read. Daylight near a window works well.
Give the file a clear name. “IMG_20261016_093412.pdf” tells nobody anything, and “rahul-sharma-certificates.pdf” does. Some portals set rules for file names, so check the instructions and use letters, numbers and hyphens.
Frequently asked questions
Is there a limit on the number of images?
You can add several images and arrange them in any order. With dozens of high-resolution photos, the browser may slow down. If that happens, convert them in smaller groups.
What quality setting should I choose?
Start with Medium (Balanced). For documents with small print, High Quality keeps the text sharper. Low File Size gives the smallest file, so use it only when a size limit requires it.
Will the PDF work for a government portal?
The tool creates a standard PDF that any portal accepting PDFs can read. The portal’s own rules still apply, usually A4 pages, a size limit and sometimes a file name format. Check its instructions first.
Why does my PDF look blurry?
Usually the original photo was low resolution, or the quality setting was too low. Retake the photo in better light, or create the PDF again with a higher quality setting. The tool can’t add detail that the photo never captured.
Can I add images to an existing PDF?
The tool converts images into a PDF. To add pages to a PDF you already have, convert the new images into a PDF first, then join the two files with a PDF merger.
Author: Kailash Choudhary
Kailash Choudhary runs Mubarak4u.in from Makrana, Rajasthan. He writes practical guides for the site, uses AI tools to help with drafts, and checks the figures before they go live.