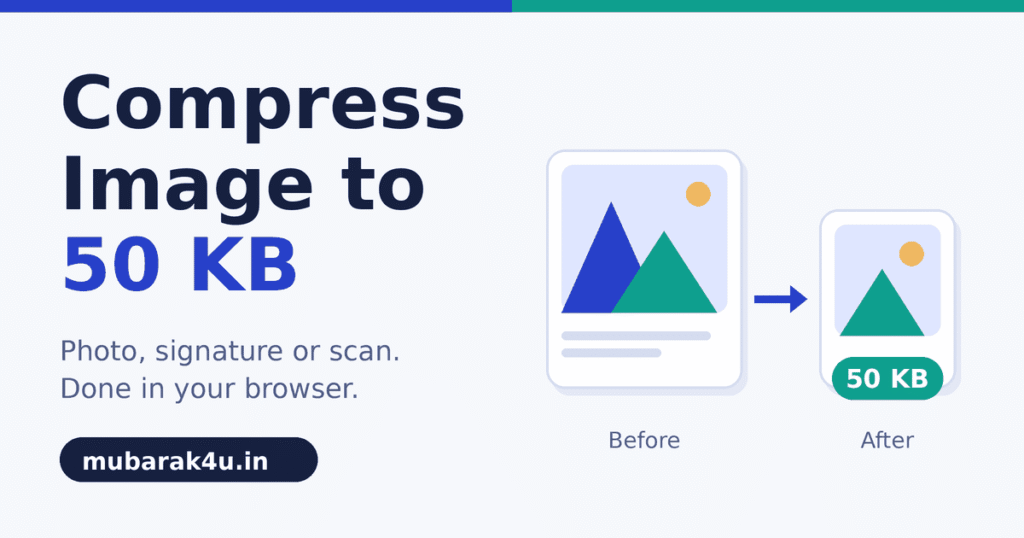
Want to compress image to 50 KB? Open the compress image to KB tool, add your file, type 50 as the target, choose JPEG and download the result. It takes about a minute.
Whether the upload then works depends on a few things the tool can’t see: the form’s rules, the pixel size and how the file was made. This guide covers what the tool does, a real test with numbers, and how to avoid a blurry or rejected file.
Compress image to 50 KB: step by step
- Open the compress image to KB tool in your phone or computer browser.
- Tap the upload box and pick your photo, signature or scan. It accepts JPG, PNG and WebP files.
- Type 50 in the target box, or tap the 50 KB button.
- Choose JPEG as the output format. Pick JPEG when a form asks for JPG, and WebP only for websites.
- Keep the mode on Smart (Quality + Auto Resize).
- Compare the original and the result. Look at the file size, the pixel size and how the image looks.
- Press Download Compressed Image to save the file.
The tool works inside your browser. Your photo, signature or scan isn’t uploaded to our server.
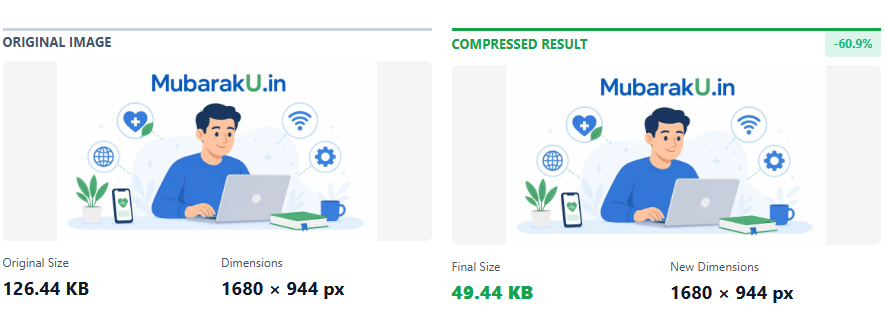

What the tool does to your image
The tool first lowers the quality until the file fits under your target. If it’s still too big at low quality, Smart mode reduces the width and height in proportion and tries again.
The other mode keeps the pixel size and changes only the quality. That works for a small cut. For a big cut on a large photo, Smart gives a better picture, because a photo with fewer pixels needs less data.
A PNG with a transparent background is filled with white when you save it as a JPEG. Without that step, JPEG would turn the transparent area black.
A real test
We ran our own tool on an image of 1,200 × 630 pixels and 206.21 KB, with a target of 100 KB. The result was 80.16 KB. That’s 61.1 percent smaller, and the pixel size stayed at 1,200 × 630.
Two things show up here. The file landed under the target, not on it. And a cut of more than half needed no change in pixel size, only in quality.
Your result depends on the picture. A photo with a plain background gets smaller more easily than a busy one, so don’t expect the same percentage.
Choose your target size
Read the form’s upload instructions before you choose. Note four things:
- The maximum file size
- The minimum file size, if there is one
- The width and height in pixels or centimetres
- The file format
Limits differ from one form to the next and can change from year to year. A photo and a signature often have different limits too.
Then set the target a few KB below the maximum. Some systems count 1 KB as 1,000 bytes and others as 1,024 bytes. A file that sits right at the limit can pass on one screen and fail on another.
If the form has a minimum, keep the target inside the allowed range. A file that’s too small gets rejected just like one that’s too big.
Why a photo turns blurry when you compress image to 50 KB
Blur comes from three things: a very low target, a large number of pixels, and repeated saving.
- A very low target. The smaller the target, the more detail the tool has to drop. Going from 100 KB to 20 KB costs far more than going from 200 KB to 100 KB.
- Too many pixels. A phone photo of 4,000 × 3,000 pixels has 12 million pixels. A form photo needs a tiny fraction of that. Cutting only the quality of a photo that big hurts the picture, so let Smart mode or the resizer reduce the pixels.
- Repeated saving. Each time a JPEG is saved again, it loses a little more detail. A screenshot of a photo has been through that process once already.
How to get a clearer result
- Start from the original photo, not a copy that was sent over a chat app.
- Crop before you compress. Fewer pixels mean fewer bytes.
- Use a plain, light background and even light on the face.
- Raise the target by a few KB if the form allows it. A 48 KB file looks better than a 30 KB one.
- If the form wants exact pixel dimensions, resize first with the photo and signature resizer, then compress.
Photo, signature or scan
A photo has colour and soft detail, so a plain background and a close crop on the face help most.
A signature is thin dark lines on white paper. Use a dark pen and a clean white sheet, and crop close to the signature. Heavy compression can soften thin lines, so look at the result at full size before you upload.
A scanned document is mostly text. Small text can turn fuzzy at a low target, so if you can read it clearly in the preview, it’s probably fine. If you can’t, raise the target.
Check the final size before you upload
Open the downloaded file’s details or properties on your phone or computer and read its size. Do this every time, because the size on the portal can read slightly different from the size in the tool.
Check the minimum, too, not only the maximum.
Mistakes to avoid
- Compressing a screenshot of a photo instead of the original
- Choosing WebP for a form that asks for JPG
- Setting 20 KB when the limit is 50 KB
- Ignoring the pixel size when the form sets one
- Forgetting the minimum size
Quick answers
How do I compress an image to 50 KB on my phone?
Open the compress image to KB tool in your phone’s browser, add the photo, set 50 as the target, choose JPEG and download the file.
Will compressing to 50 KB make my photo blurry?
A small face photo usually keeps good quality at 50 KB. A large photo has to lose pixels as well, so crop it first and compare the result with the original.
How do I compress an image to 20 KB or 100 KB?
Use the same steps and type 20 or 100 as the target. Lower targets cost more quality, so check the preview before you save.
Is my photo uploaded when I use the tool?
No. The compression runs in your browser, and your image stays on your device.
To try it on your own file, open the compress image to KB tool.
For better results, resize your image to the required dimensions and adjust the compression level gradually. Modern formats such as WebP can help reduce file size while preserving good visual quality. For more details, read Google’s guide to image performance and its WebP image format documentation.
Last updated: 10 October 2026